So far, I have decided to ignore all the new alternatives on the market and I am sticking with Adobe Lightroom. As an old Software Engineer, I love operating my computer via the keyboard and Lightroom has excellent keyboard shortcuts, that make its usage much more efficient.
There are various sites you can google which list many Lightroom keyboard shortcuts. A very comprehensive one you can find here: https://www.lightroomqueen.com/keyboard-shortcuts/lrcc6/.
If you want the short version of this, below you find the keyboard shortcuts I use most often in Lightroom. I am a Windows guy. If you have a Mac, just replace the Ctrl key with the Cmd key, everything else stays the same.
General and Navigating Around
- Press D to navigate to the Develop module.
- Press G to navigate back to the Grid view in the Library module.
- Press Shift + Tab to collapse all panels (press it again to expand the panels)
- Press 0, 1, 2, 3, 4 or 5 to give your image 0 – 5 stars
- Press 6, 7, 8 or 9 to give your image a color label (6 = red, 7 = yellow, 8 = green, 9 = blue). There is no shortcut for purple.
- Press P to flag (pick) an image, U to unpick an image and X to reject an image
- Press L to make the background, panels, menus, etc. darker. Press L again to make everything black. This is a great view to assess a picture.
- Press Ctrl + ‘ to create a virtual copy of an image
Library Module
- Press E in the Grid view to open the loupe view of the selected picture
- Press C to compare two pictures
- Press N to open the survey view
Development Module
- Press R to go into the crop mode of an image. In the crop mode, press X to change the crop aspect. And press O to move through the different grid overlays. For some of the overlays, you can rotate them by pressing Shift + O.
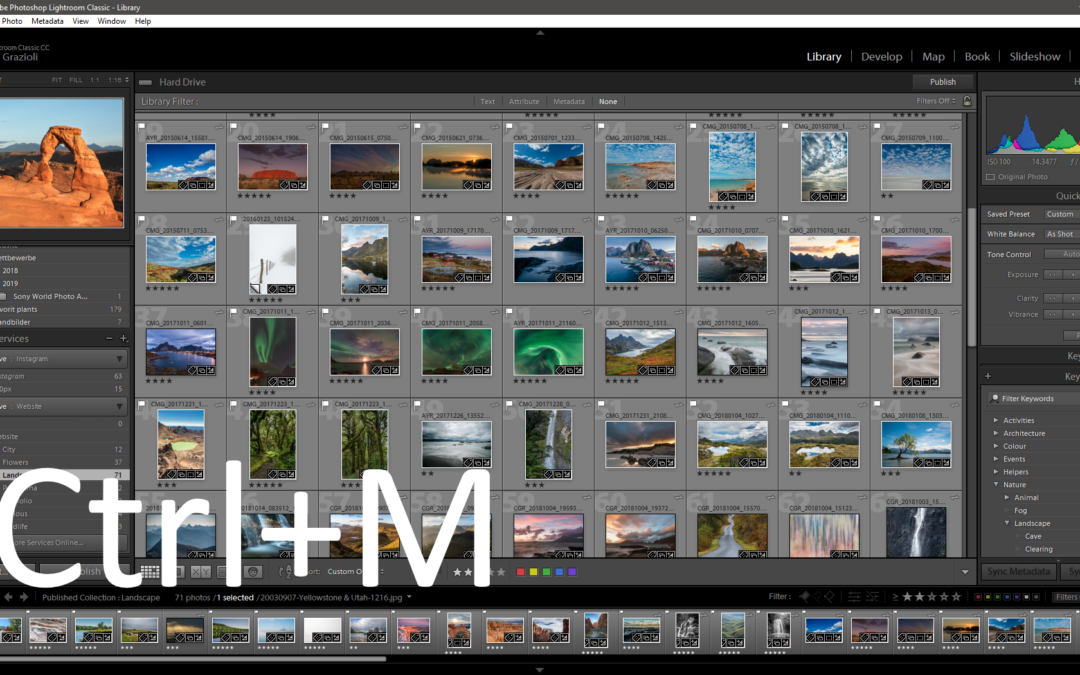
- Press M to create a graduated filter. If you want your graduated filter to be absolutely horizontal, press M while pulling it down.
- Press Shift + M to create a radial filter
- Press Q to use the spot removal tool. When in the spot removal tool, press A to get a view where it is usually pretty easy to identify spots. Press A again to leave that mode.
- Press J to show clippings (blinkies)
- Press Y to switch to the before/after view
- When using the Highlights, Shadows, Whites and Blacks sliders, press Alt to help getting your toning right
- When sharpening, press Alt while adjusting the Masking slider
Related Images:
Please follow and like us:
Recent Comments